In this article, we would like to share with you the steps on how you can find the location of your selfie photos from Horizon Venues. Perhaps, some of you have already tried Horizon Venues, a social networking apps, for you to enjoy virtual events like concerts, documentary and sports. If you notice, there is a functionality inside the apps where you can take selfie.
We have tried it but when we go inside the Oculus gallery, we cannot find where the picture or selfie photos are located. Imagine how frustrated we are. However, now we know how to get the photos to be inside the gallery.
Since the Horizon Venues’ Developer has disabled taking photo inside the app, we need to write the steps without the screenshot of how it looks like in the actual process. Anyway, we hope this guidelines below can still help you guys…
Take Selfie & Finding the Photos
- First, look at your left wrist until the menu appear.
- Select the icon with the 3 horizontal lines.
- Look at the bottom and you can see a panel below. Now, select the camera icon at the bottom.
- Pull the controller’s grip to move and adjust the location of the selfie stick.
- Once you got the right angle to take the selfie, click the trigger at your controller to snap your picture.
- At the below part, you can now immediately see the horizontal bar with the picture that you snapped just now.
- Hold or touch the picture with your trigger.
- You can see the “Review Photo” box will appear.
- Okay, this is the most important step. At below part of the box, you can see a button with label “Save to camera roll”. Click on that button.
- When you exit “Horizon Venues”, go to the Universal Menu.
- Click on the “Sharing” icon.
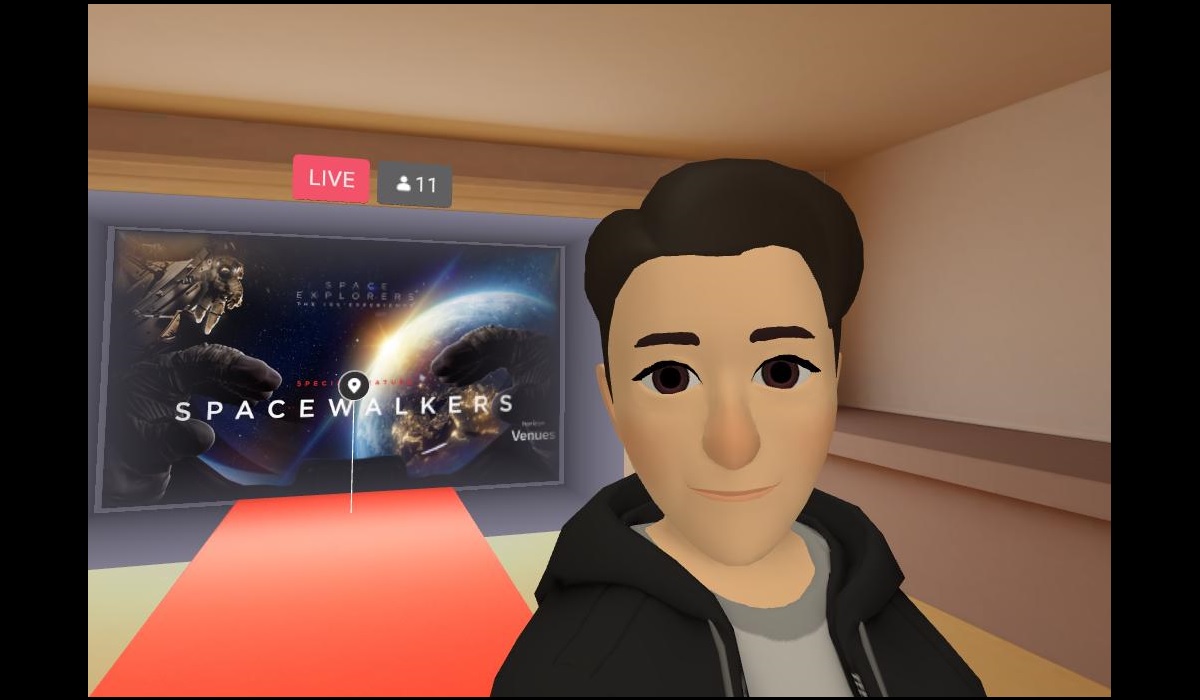
- Now you can see your selfie photos or images inside the Oculus gallery. Below is how the result looks like…
 |
That’s all guys. Hope this can help you to easily find the location of your photos inside “Horizon Venues” in the future..


