In this article, we would like to share with you the steps to take the screenshots or screen capture in Oculus Quest 2. There are two ways to do it. You can either use the express way or the normal way. Let us help you to go through both options…
Option 1: The Express Way
1. First, make sure you have the right Oculus Touch controller in your hand.
2. Next, you hold down the Oculus button on that controller.
 |
3. While you still holding down the Oculus button, immediately press the trigger on the controller. You can also press the trigger on the left controller too.
 |
4. Next, you will hear a sound like a camera click.
5. After that, you can see a notification confirming that the screen capture is success. The message is “Photo saved. You can view your photo now“.
6. As long as you keep holding to your Oculus button, you can take the screenshots as many as you like.
Option 2: The Normal Steps
1. Inside your virtual environment, press the Oculus button on your right controller to open the system menu.
2. Next, select the “Sharing” tab.
 |
3. After that, select the “Take Photo” menu.
 |
4. You will notice there will be a small red dot appear and blinking near your right top corner. It will blink for around three to five seconds.
5. Then, you can hear that clicking sound.
6. Next, you can see a notification confirming that the screen capture is success. You can see the message “Photo saved. You can view your photo now“.
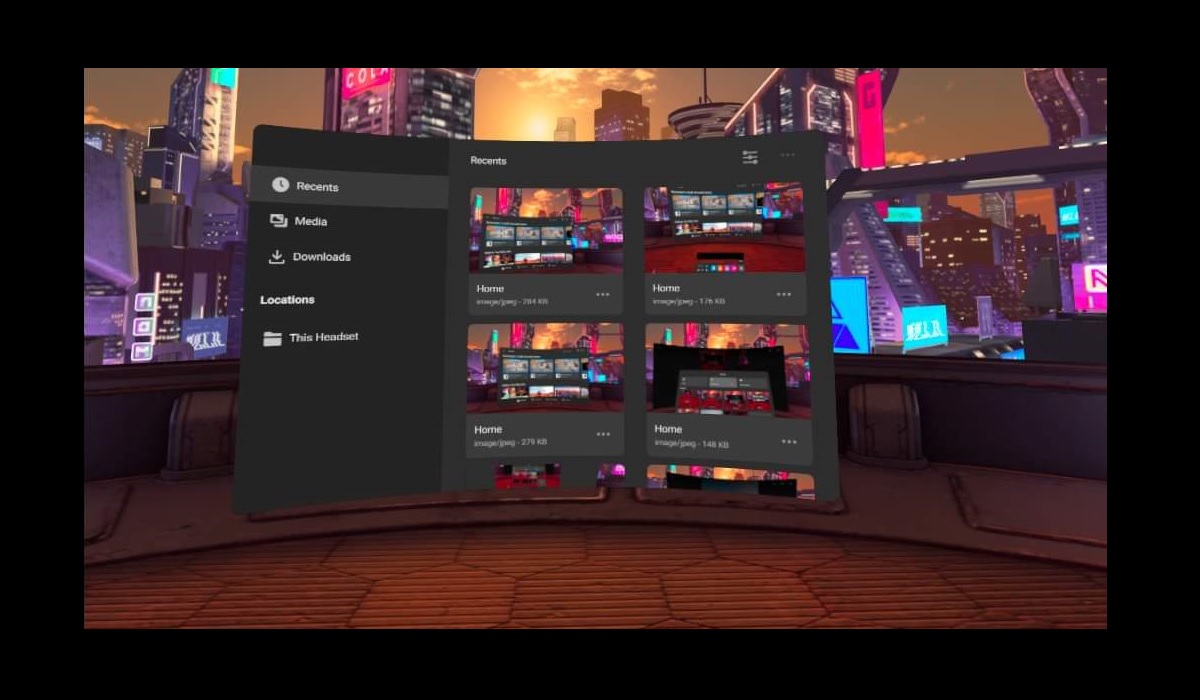
Where is the Image Located?
1. Inside your virtual environment, press the Oculus button on your right controller to open the system menu.
2. Next, select the “Sharing” tab.
3. Click “View All” button.
 |
4. Here, you can see all the screenshots that you take just now.
 |
Nice, huh? Now you proudly share the images from the Oculus games that you played to your family and friends. We hope this simple tutorial of taking screenshots in Oculus Quest 2 can give you immediate benefit.


