

Home Environment is the first thing you see once you successfully setup your Oculus Quest 2. For most of you, this is the first “Wow!” moment in the virtual reality world. However, after some period of time, you might be getting bored with the same default Home Environment in Oculus Quest 2. If that happen, then this is the time for you to change it. Something like your Desktop Wallpaper.
But the question is, how you can change it? Don’t worry, guys. In this article, we will share with you the step-by-step on how to do it…
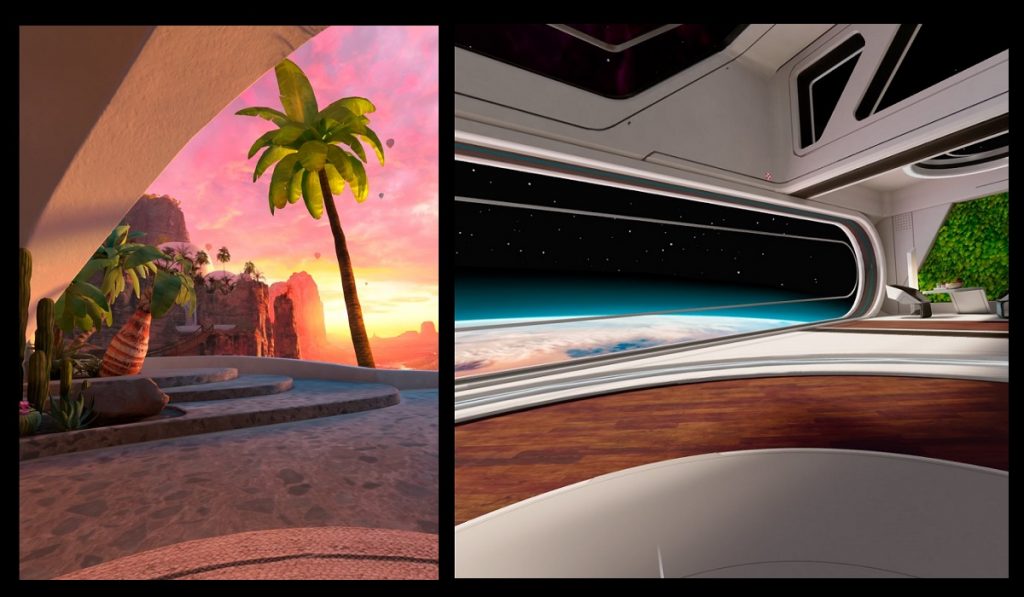
1) Your Default Home Environment
As you can see, below is your default Virtual Environment or Oculus Home in Oculus Quest 2. Looks beautiful and so serene, isn’t it?
 |

2) Press Oculus Button
To change your default Home Environment, firstly, you must press on the Oculus Button that is located on your right Oculus Touch Controller. You can see the “Oculus” logo on it.
 |
3) Universal Menu Toolbar Appears
Then, you can immediately see a floating Toolbar appear at the bottom like in the picture below. The floating toolbar name is “Universal Menu“.
 |
4) Select Quick Setting
Next, you select the “Quick Settings” menu. It is located at the most left of the Universal Menu.
 |
5) Select Settings
Now, you can see the Quick Settings Dashboard. Select the “Settings” button at the top right of the dashboard.
 |
6) Select Virtual Environment Menu
This time you can see the full Settings Dashboard appear. Select the “Virtual Environment” from the left sidebar menu. You can see that your current Home Environment is in the “Active” status. Furthermore, now you know that its name is “Desert Terrace“.
 |
7) Select the New Home Environment
Choose your new Home Environment. At this moment, there are not so many choices of it. In this example, we choose “Space Station” as our new home environment. You can see the “Apply” word appear when you hover your pointer on top of it. Once you decide your new Home, click on it.
 |
8) Home Environment is Updated
Wallaaa!! Welcome to your new home or virtual environment. Congratulations, guys!!
 |
That’s all for now guys. Hope you can get the benefit from this simple tutorial. If you still encounter any difficulty, perhaps you can reach out to Oculus Support for help. See you next time!


